Brisket on the Grilla Silverback

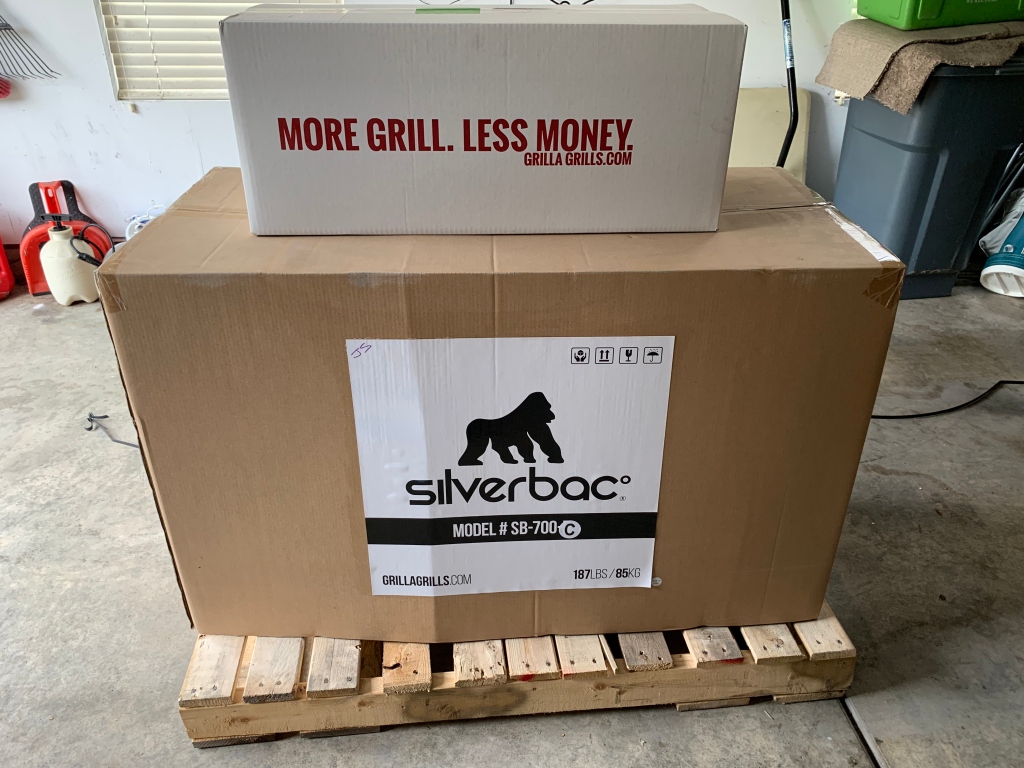
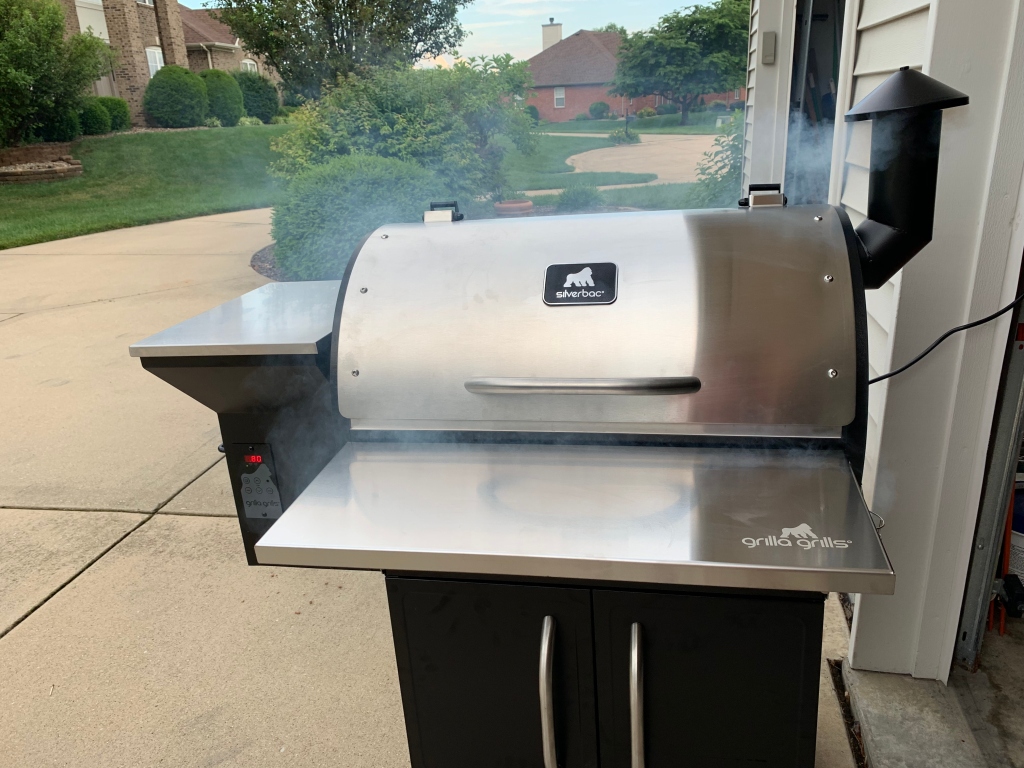
I’m still splitting time between my Big Green Egg and the Grilla Silverback. But for Father’s Day weekend, we decided to do a brisket & burnt ends on Saturday and then enjoy a leisurely day on Father’s Day.

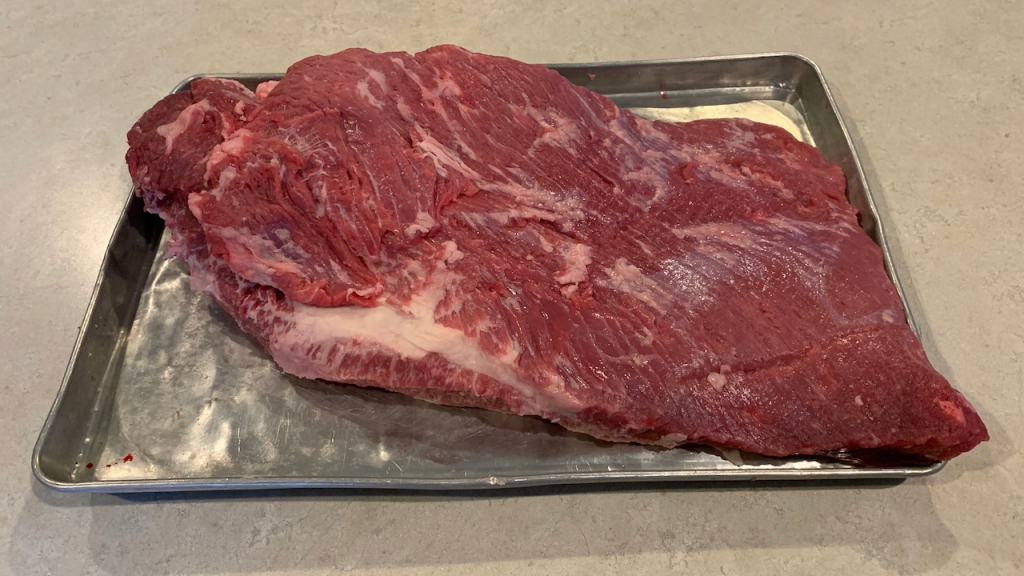
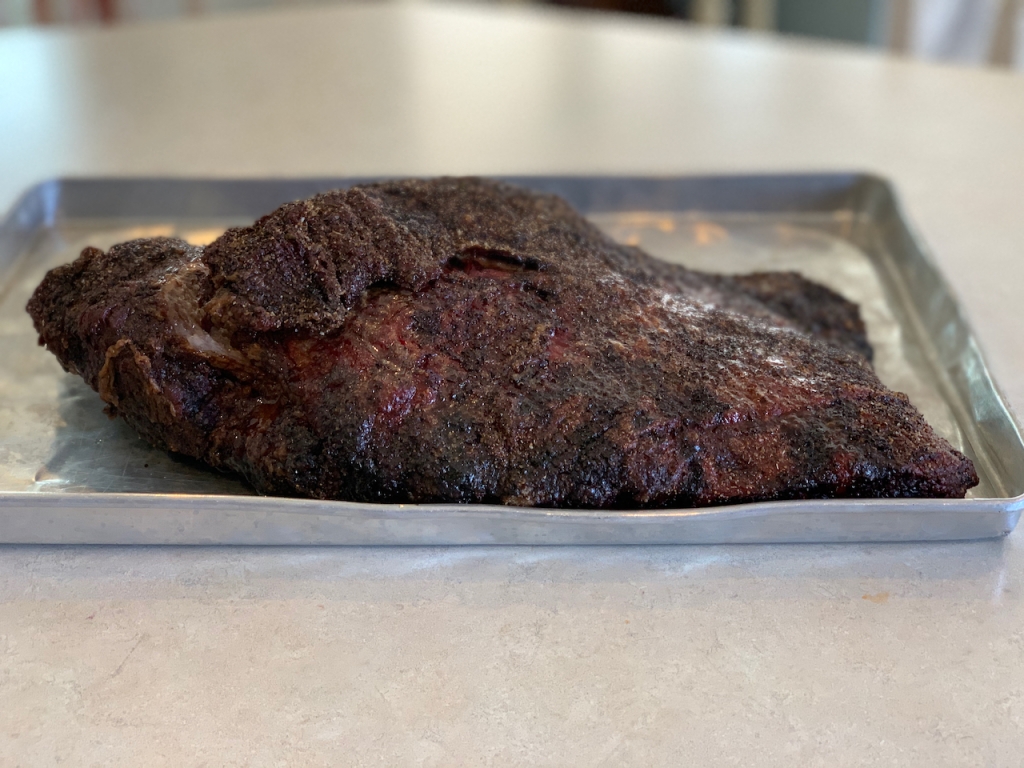
So, I picked up a packer cut brisket on Friday night and trimmed it aggressively as is my way.


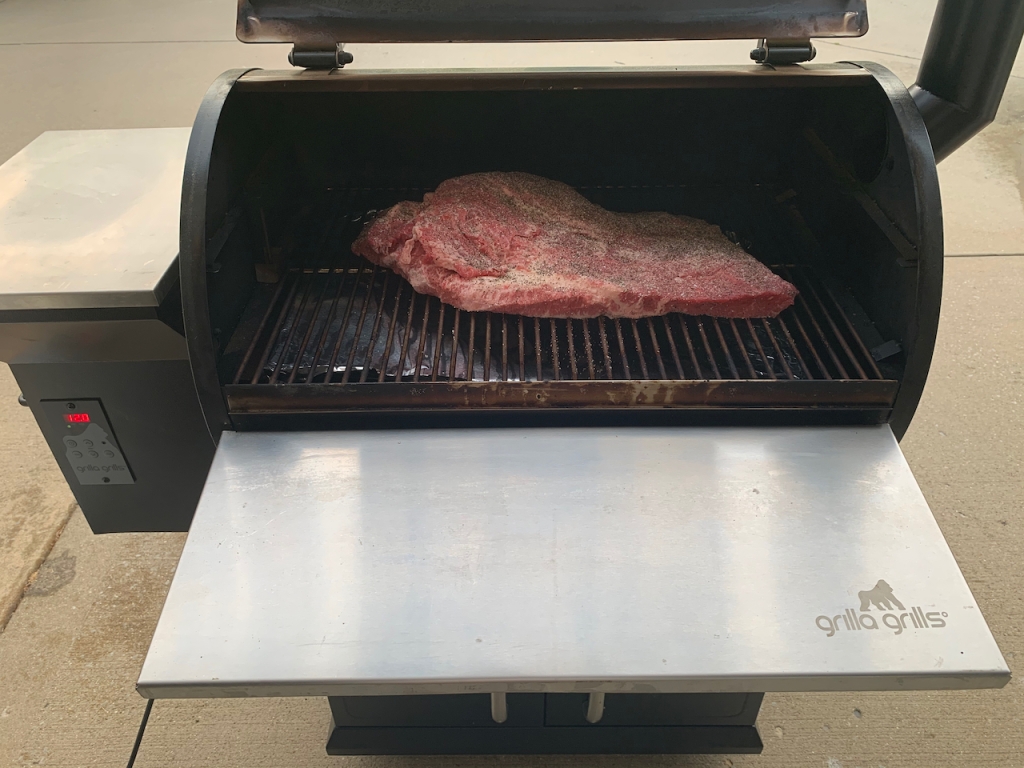
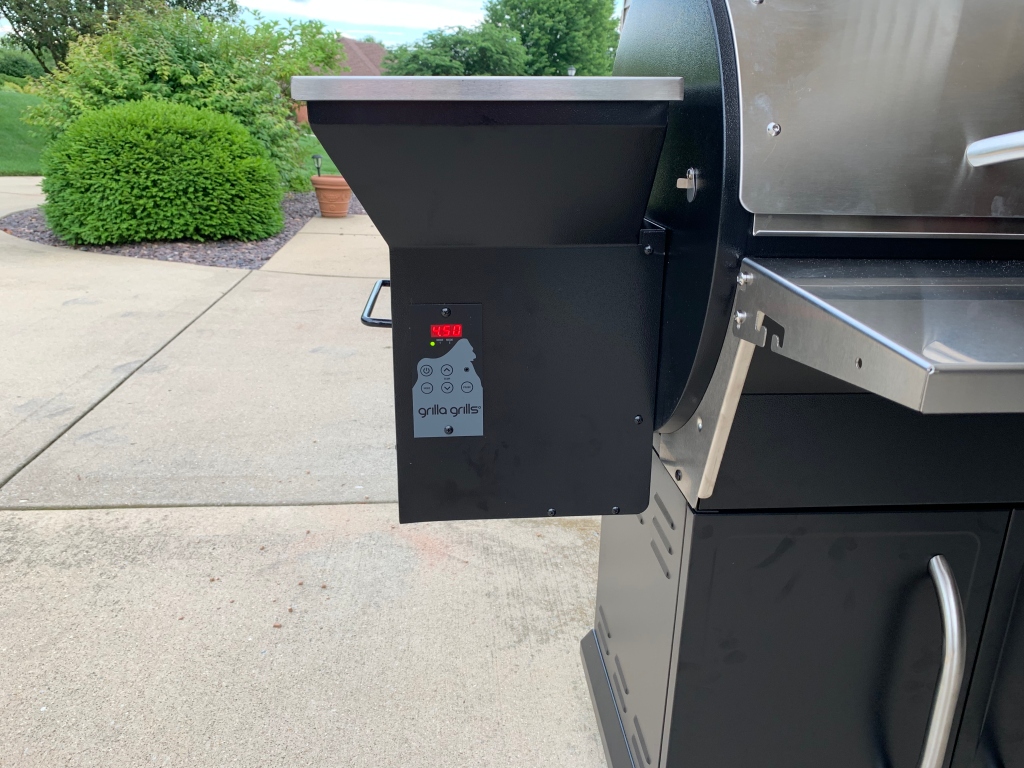
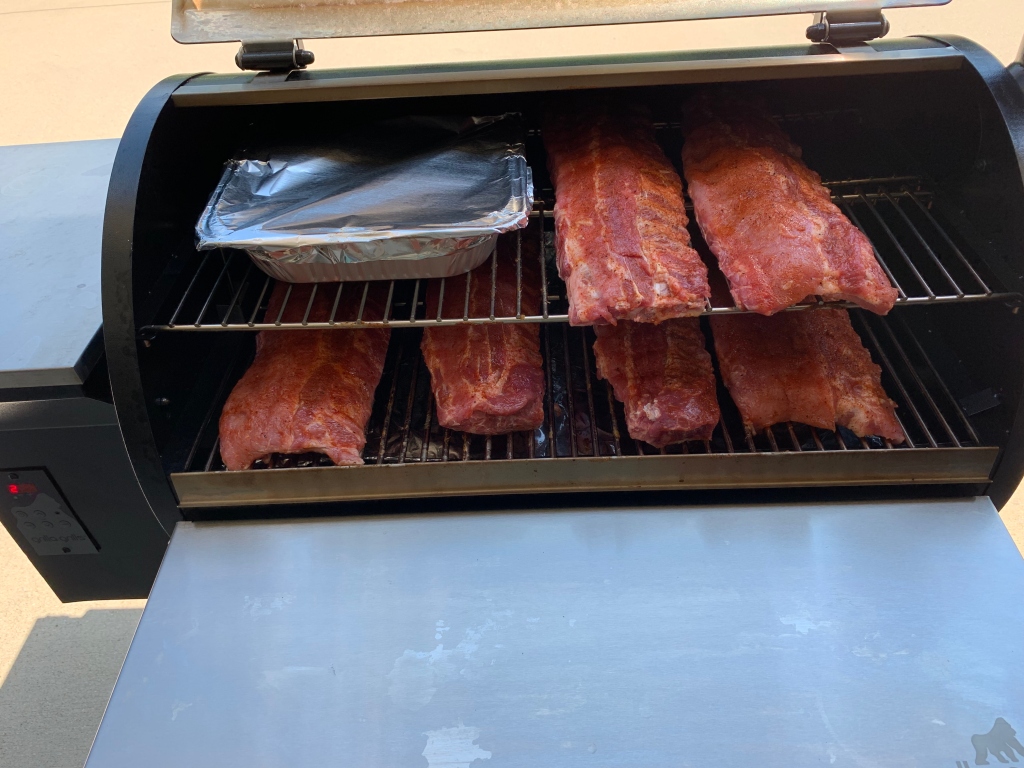
I was up at dawn on Saturday and decided to run the pit a little hotter than normal. You see, I’m of the opinion that there’s not much difference in the final product if you run the pit anywhere from 225-275 degrees. So I set the temp at 275 and got the brisket on.

The pit ran flawlessly for nealy 9 hrs. At that point, I was getting internal temperature readings of ~200 degrees on the flat. So, I decided it was time to separate the flat and point.

I double wrapped the flat in aluminum foil, then wrapped it in a towel, and placed it in a cooler for a rest until dinner time. The point, I cubed and sauced before putting it back on the pit for burnt ends.

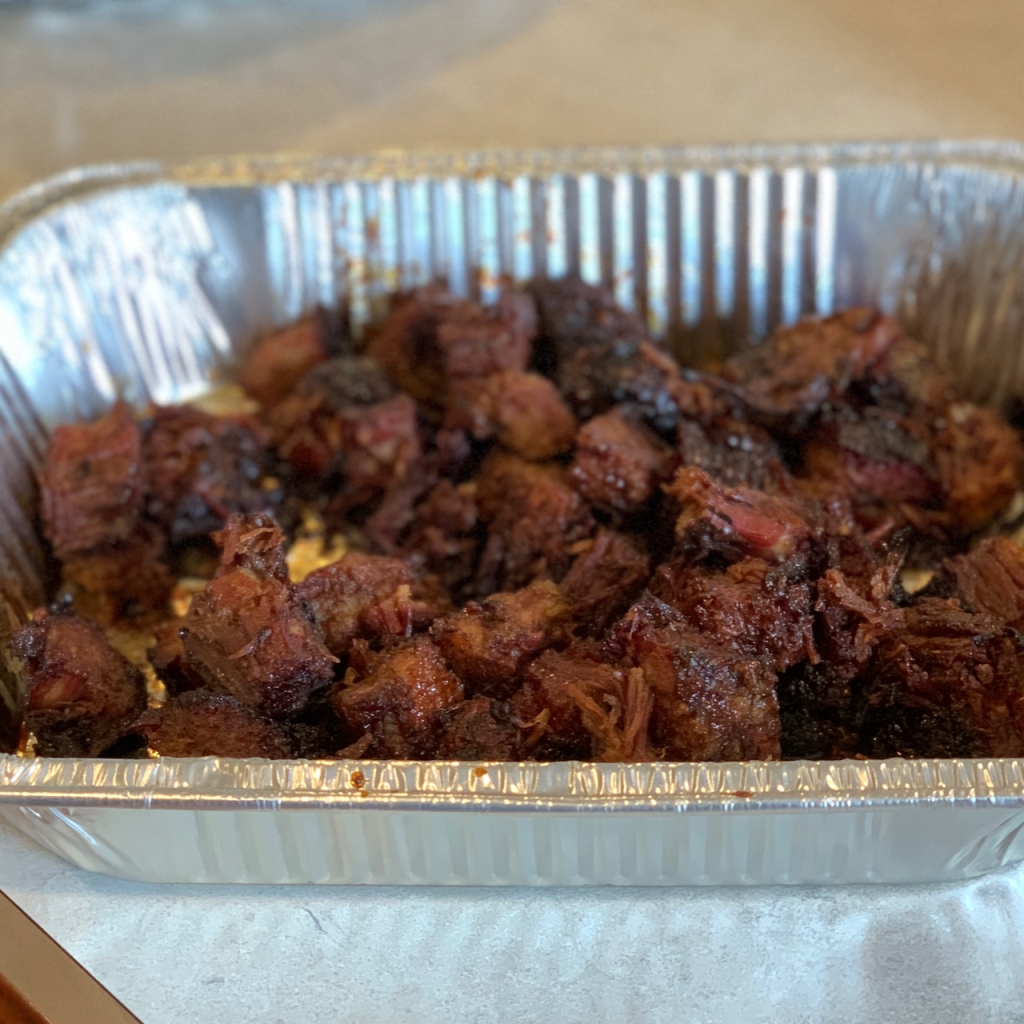
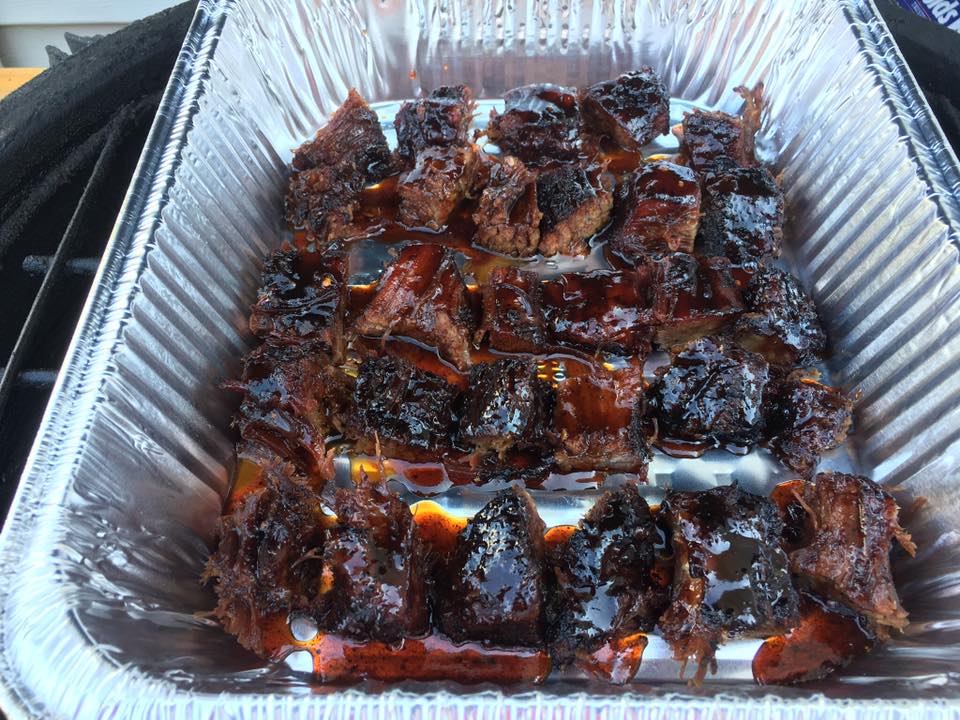
I dropped the temp to 250 degrees, and let the sauce caramelize on the burnt ends for about an hour and a half. I did stir the burnt ends about half way through to ensure that they were evenly coated and caramelizing on all sides.

At dinner time, I sliced the flat and served it up along side the burnt ends. To my surprise, my family paid little attention to the sliced brisket and dove into the burnt ends. Luckily this was a large brisket and I had plenty of burnt ends to share with some friends on Sunday.

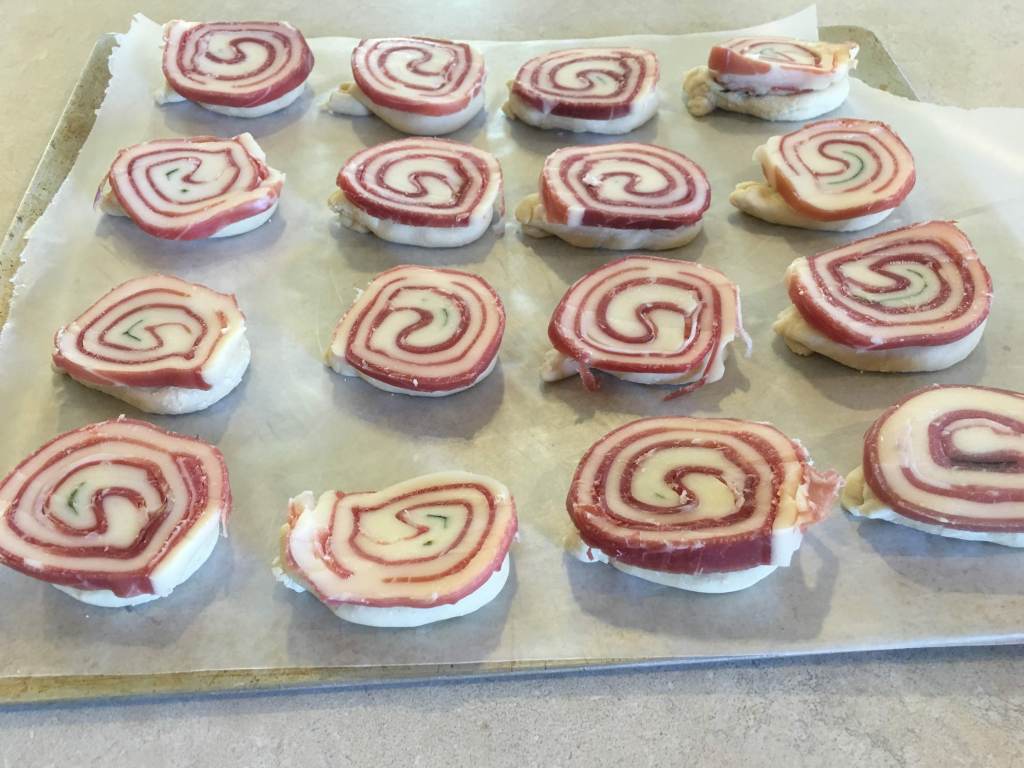
And here’s the money shot:

Any tips for burnt ends you’d like to share? I’d love to hear them!

Cheers,
Braddog

New Pit: Grilla Grills Silverback

It’s been a minute since I’ve provided an update. Now that I’ve added a new pit to my arsenal, it seems long over due.

When I sold the Backwoods Pro Jr, I knew it would be a matter of time before I acquired another pit to increase my cooking capacity. After spending some time evaluating pellet grills, I landed on the Silverback Alpha from Grilla Grills.

I looked at all of the big names in pellet grills (you know who they are). To me, it came down to a couple of key features, value, and company support.

The key features for me are:

  • Pellet dump – changing flavors or just cleaning the pit is easier with a way to dump the pellets out of the hopper
  • Double-walled cooking chamber – Grilla calls this the “thermojacket”, but the result is a grill that performs better in cold weather. The last thing I want is to wrap my grill in a blanket to cook in the winter like owners of some of the competition often do.
  • PID Controller – in fact Grill has a controller that is dual mode. In mode 1 (PID mode) the grill maintains the set temperature with very little variation. In mode 2, the temp swings across a wider range. The result is a little more smoke.
  • Value – compare the features of the Grilla vs the competition and you’ll find that the bang for the buck is definitely here.
  • Company Support – Join the Facebook page for Grilla owners and you’ll find the a consistent presence from the company helping their owners and a community that’s very supportive of each other.

Put all of these together, and I’m very happy with my purchase. I’ll update this site more regularly with my experiences using the Grilla Silverback.

Cheers,
Braddog

Sold! Backwoods Pro Jr

Life has changed quite a bit over the past couple of years and I haven’t found myself needing the capacity that the Backwoods Pro Jr affords me. Rather than have it sit unused, I decided to list it for sale to see if there was any interest.

Indeed there was, and I’m happy to say that the pit has a new home. The new owner picked it up recently and now I’m down to a single Big Green Egg as my only BBQ pit…for now.

Cheers,
Braddog

Recipe: Burnt Ends

If you’re a fan of smoked brisket, you’ve likely had burnt ends.  I’ve had them, but frankly I usually don’t bother and simply slice up the point of the brisket along with the flat.

For the uninitiated, the brisket is made of 2 muscles.  The flat is the leaner of the two, while the point has more fat.  The grain of the two muscles run counter to one another and are joined by a seam of fat.  Buying the whole brisket, or “packer cut”, can be intimidating to some as there is a significant layer of hard, white fat covering a good portion of the meat.

Typically, I will buy and cook the flat.  The cost per pound is definitley more, but my family prefers the leaner cut and it takes a good amount of work to trim a packer cut before cooking.  Nonetheless, I purchased a small packer cut brisket this past weekend and put it on the Big Green Egg on Sunday morning.

As the brisket was finishing up, I called an audible and decided to seperate the point and cut it into cubes.  I placed these in a pan and hit them some of my rib sauce.  I know, I know, rib sauce on brisket?  Trust me, these were the best burnt ends I’ve done.  And, I’ll definitely do them again.

Heck, maybe I’ll even start buying the packer cut from now on.

Cheers,

Braddog

Review: A Fine Swine – New Baden, IL

Today, I had to run a few errands with my bride and we found ourselves in a rural community that we don’t often visit, New Baden, IL.  As we entered town, I spotted a BBQ Joint that I haven’t been to before.  So, after we completed our errands, we circled back and had lunch there.

As we parked, I saw 2 Ole Hickory smokers under cover near the front door and there was a smell of hickory smoker in the air.  Both, a very good sign. 

Right off, I noticed a couple of very unique things about this joint.  First, the counter was a converted off-set pit.  I thought that was a very cool touch.

The other thing I noticed is a live feed of a video camera mounted directly over a butcher block table in the kitchen where they are slicing brisket, chopping pork shoulder, etc.  I’ve never seen this in another BBQ joint and enjoyed watching the staff slice my brisket before brigning it out to my table.

All of this had my expectations pretty high.  I ordered sliced brisket with a side of house chips, and my bride ordered her usual pulled pork sandwich and BBQ beans.  At first glance, it all looked good.  There was a nice smoke ring on the brisket and it had been trimmed enough that there was a just the right amount of fat along one side of the slices.  

The BBQ was decent.  The pulled pork was good, but a little bland.  The brisket was tasty, but a little chewier than I prefer.  The house chips weren’t much more than kettle cooked potatoe chips, and my wife described the BBQ beans as “the worst she had ever had”.  In fairness, her comments reflect a personal bias.  That is a bias against beans with an overpowering flavor of molasses and apple pie.  They were unique and very sweet, but not my cup of tea either.

Here’s how I’d rate my trip to A Fine Swine in New Baden, IL.

  • BBQ – B
  • Side Dishes – C
  • Atmosphere – A
  • Value – B
  • Overall – B+

If you find yourself in the area, I would recommend you give them a try.  i know I will the next time I find myself in New Baden.  

Here’s how to find them:

A Fine Swine

423 Hanover St.

New Baden, IL 62265

http://www.afineswine.com

Cheers,

Braddog

Review: Kick Ash Basket for the Big Green Egg

I’ve been cooking on my Big Green Egg for about ten years now.  During that time, I’ve gotten pretty good at managing my fire and creating pretty darned good BBQ using the Egg in it’s default configuration.

Over the past few months, I’ve begun to add a few upgrades.  I replaced my cast iron daisy wheel with the Smokeware Vented Chimney Cap a few months ago.  And most recently, I acquired the Kick Ash Basket for my firebox. 

I ran into an issue recently where I did back to back cooks and needed to reload the BGE with fresh lump charcoal while it was still hot.  Of course trying to knock the ash out of a hot cooker is tough to do.  About that sime time, I came across the Kick Ash Basket and decided to give it a shot.

You can use this with or without the cast iron fire grate in the bottom of the firebox.  So far, I’m still using the grate.  But the beautiful thing here is being able to pick up the basket and give it a good shake to clear the ash out of the bottom of of the Egg.  It sure beats stirring the old lump to knock the ash loose.

Since I’ve been using the Kick Ash Basket, I’ve noticed that my fire comes up to temp quicker as I’ve been able to remove the ash from the old lump chacrcoal more completely.

I’m really pleased with this aftermarket product and definitely consider it an upgrade.  What upgrades have you made to your BGE?  Drop me a note and let me know.

Cheers,

Braddog

Recipe: Bacon Explosion

The buzz around the Bacon Explosion has died down a bit since it first became a thing a couple of years ago.  I haven’t done one of these in awhile, but with the Daytona 500 coming up I thought I’d dust off this recipe and put it on the menu.

Just as a refresher, here is the process for building your very own Bacon Explosion.

First, create a weave of bacon strips.  For this attempt, mine is 5×5.

I brushed lightly with sauce and rub before adding a layer of pork sausage.

In the middle, I snipped some pre-cooked bacon into pieces and added a little BBQ sauce.

Then roll the sausage into a log.

And, roll the weave around around sausage.


I cooked this one indirect at ~275* and hit with a little sauce to finish.  Sliced it up and served it hot of the smoker!

I’ve seen variations on this recipe.  Drop me a note and let me know how you’ve tweaked this to your liking.


Cheers,
Braddog

How to Light a Big Green Egg

There a lots of ways to light the charcoal in a Big Green Egg.  No one agrees on the best method, but everyone agrees that N-E-V-E-R use lighter fluid.  

I’ve tried lots of methods, from starter cubes, charcoal chimneys, and even a napkin dipped in olive oil.  But for me, the quickest and surest method is a MAPP Gas torch.  This is a little different that a propane torch like you might use for sweating copper joints.  The key differences are that MAPP burns a little hotter, and the biggie is that the torch will burn when you hold it upside down (as you would when sticking into the bottom of the Big Green Egg).

I recommend a self igniting torch with a locking trigger.  That way you can tip the MAPP bottle up on end and rest it against the side of the pit with it lit. This is the one I use and you can pick it up at Amazon or your local home improvement store.

What’s your favorite method for lighting the charcoal in your pit?  Drop me a note in the comments and let me know.

Cheers,
Braddog

Review: Qwik Trim Brisket Trimmer

I’m a big fan of trimming my brisket before cooking. This gives me a huge surface to apply seasoning and frankly I don’t like dealing with the fat on my brisket while eating it. I’ve been trimming my brisket now for a few years despite incurring a significant injury while doing so. See my previous post “How Not to Trim a Brisket“.

Rather than risk another injury like this, I jumped at a chance to acquire the new Qwik Trim Brisket Trimmer that promises to simplify the trimming process. I ordered it right away and received it just a few days before I needed to trim a couple of brisket flats for a party.

It’s really a pretty simple concept and protects the pitmater from the inadvertent slip of the trimming knife. I rinsed the brisket flats and was eager to get started.

You can see the concept in action in this photo.  It turns out that it works great for the large, cold, hard fat on the underside of a brisket.  However, it doesn’t work as well on the softer, thinner layers of fat.  I trim both from my brisket, so I still had to use my trimming knife to get the end result that I prefer.

If you’re a pitmaster that likes to leave that thinner layer of fat on your brisket, then the Qwik Trim could be a good option for you.  But, if you’re a fan of trimming all of the fat you’ll still have some work to do with a trimming knife.

Cheers,
Braddog 

Recipe: Prosciutto Involtini

There’s a local pizza joint/brew pub that makes a killer appetizer called Prosciutto Involtini.  In fact, when my bride and I eat there, we often have a salad and this appetizer and call it a meal.  This dish is basically pizza dough topped with, mozarella cheese, and prosciutto.

A few weeks ago, she came up with the notion to try to make these at home.  Her first attempt was a homerun, so I decided to make a batch for the Superbowl.  We cheat a little a use a premade mozarella & prosciutto roll that we slice and lay over a ring of pizza dough.

Here’a a photo journal of the process.

Pizza dough laid out sort of like a pretzel

The Prosciutto and Mozarella Roll

A slice on each loop of pizza dough

The final result I didn’t get a shot of these on the grill.  But I setup my Big Green Egg for pizza cooking/baking and grilled these at 425 degrees until the pizza dough began to get brown.

These were a big hit at the Superbowl party and are great with marinara suace for dipping.  I’ll definitely do these again (and again).

Cheers,
Braddog